A main water line leak can be a stressful situation for any homeowner. However, with the right knowledge and tools, you can tackle this issue head-on. In this comprehensive guide, we’ll walk you through each step of the process, from identifying the leak to sealing and testing, and provide valuable tips for monitoring and prevention. Whether you’re a DIY enthusiast or simply want to learn how to fix a main water line leak, this guide will equip you with the essential information you need.
Identifying the Leak
Before you can fix a main water line leak, you need to accurately identify its location. Look for signs such as water puddles, wet spots on walls, or unusually high water bills. Utilize your sense of hearing as well; the sound of rushing water or hissing can point you toward the source of the leak.
Turning Off the Water Supply
As soon as you detect a main water line leak, it’s crucial to turn off the water supply to prevent further damage. Locate the main water shut-off valve, usually located near the water meter, and turn it clockwise until it’s fully closed. This will stop the water flow and give you the opportunity to assess the situation.
Gathering Necessary Tools and Materials
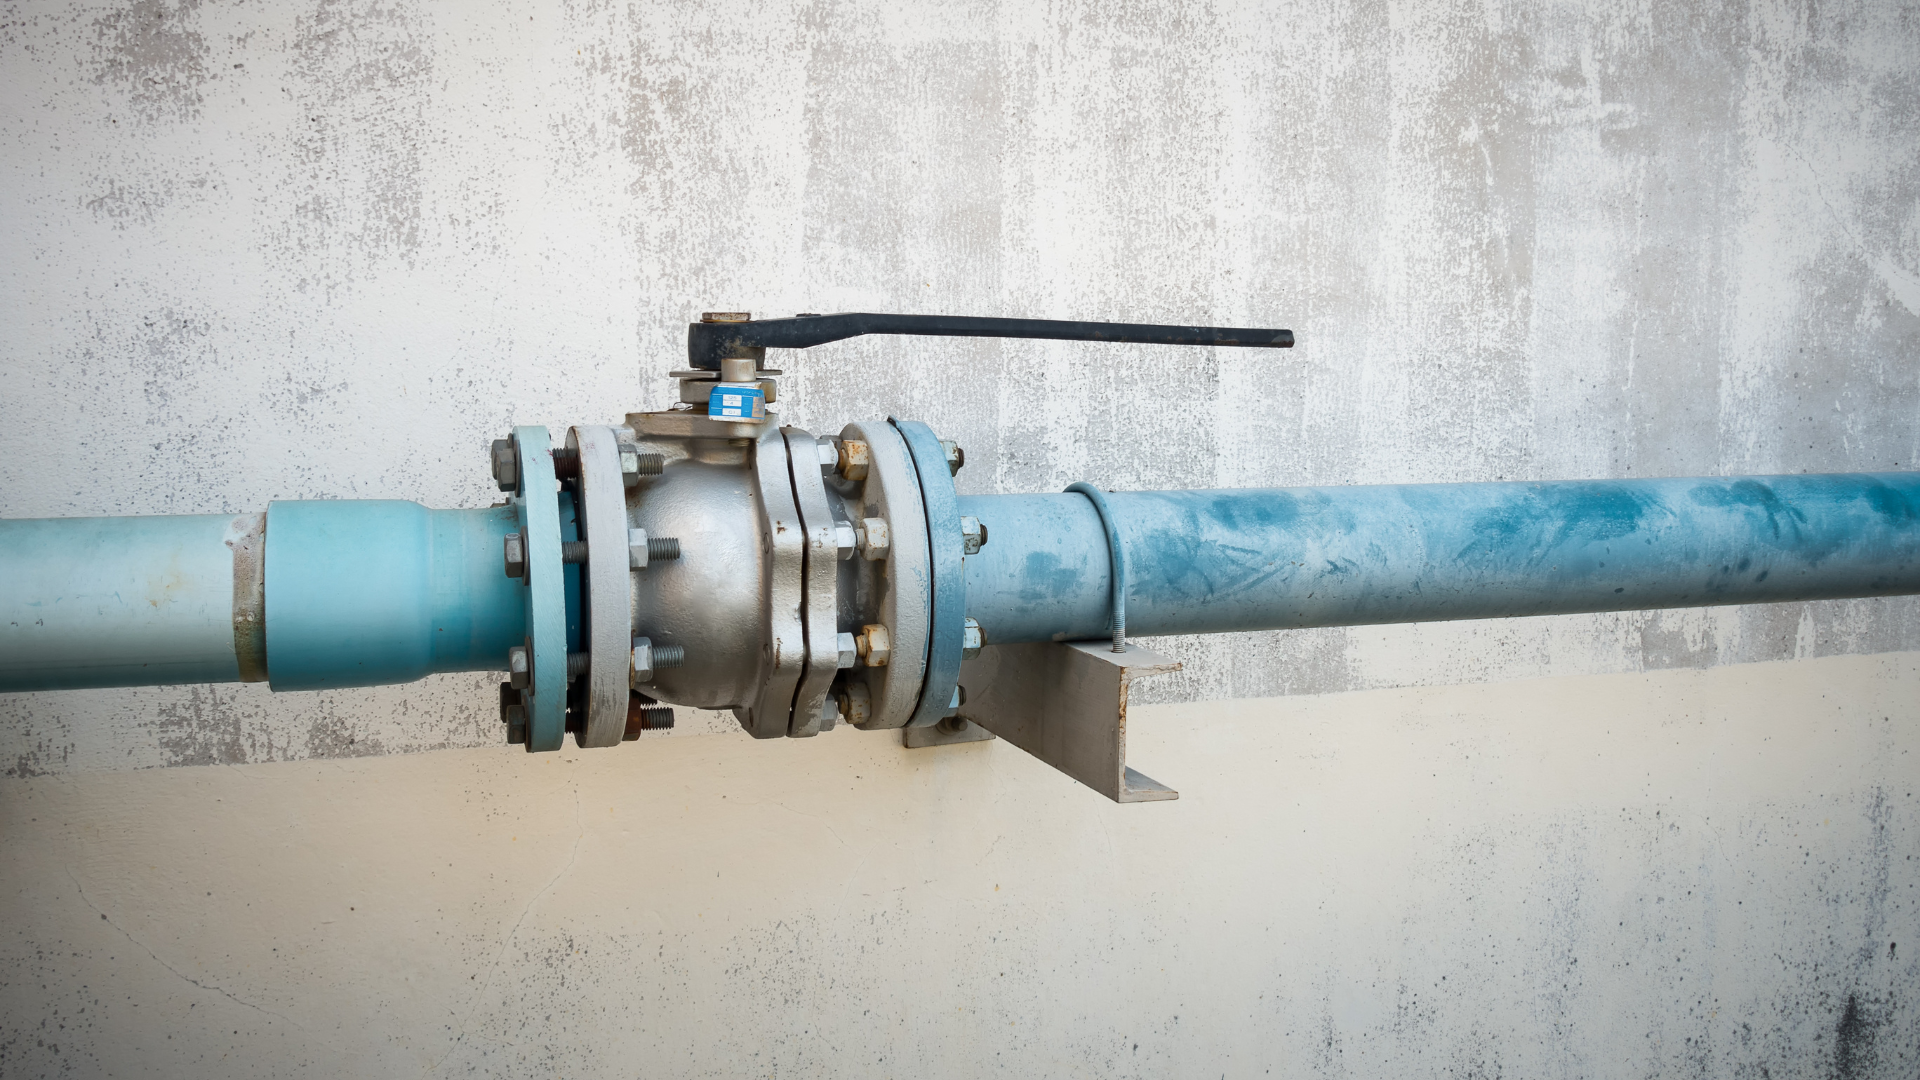
To effectively fix a main water line leak, you’ll need a few essential tools and materials. These include pipe cutters, pipe clamps, pipe repair kits, plumber’s tape, and a wrench. Having these items on hand will streamline the repair process and save you time.
Assessing the Damage
Carefully inspect the damaged area to determine the extent of the leak. Look for cracks, holes, or corroded sections in the pipe. Depending on the severity of the damage, you may need to replace a portion of the pipe or opt for a repair kit.
Repairing the Leak
Using your pipe cutters, carefully remove the damaged section of the pipe. Follow the manufacturer’s instructions to apply the pipe repair kit or utilize pipe clamps to seal the leak. Ensure the repair is secure and tight to prevent future leaks.
Sealing and Testing
After making the necessary repairs, apply plumber’s tape around the repaired area to provide extra protection against leaks. Once the tape is in place, slowly turn the main water supply back on and check for any signs of new leaks. Monitor the area closely for a period to ensure that your repair holds up.
Reinstating the Area
Once you’re confident that the repair is successful, it’s time to reinstate the area. Clean up any debris, dry the surroundings, and repair any cosmetic damage that may have occurred during the leak. This step is essential for maintaining the aesthetic appeal of your home.
Monitoring and Prevention
Regularly inspect your main water line and the surrounding areas for signs of leaks or damage. Implement preventive measures such as insulating pipes during cold weather and avoiding planting trees or shrubs too close to the water line, as root growth can cause damage over time.
Safeguard Your Home with Effective Main Water Line Leak Solutions
Fixing a main water line leak might seem like a daunting task, but with the right approach and preparation, it’s manageable. By identifying the leak, turning off the water supply, gathering the necessary tools, assessing the damage, making the repair, sealing, and testing, reinstating the area, and practicing vigilance in monitoring and prevention, you can confidently handle this situation. Not confident in your DIY main water line skills? Don’t worry- Major League Plumbing is here to help! Contact us today for all your main water line needs.
Check out our Google Reviews to see why customers trust Major League Plumbing!

